

If you are here on my blog you are already moving in the right direction. Eating a more plant-based diet is exemplary for the planet, so great job already! But today I want to talk about single use plastics. Living on an island, we are faced with the reality of how much plastic ends up in our oceans. Itʻs not because we are throwing trash out of our car windows or leaving it on the beach (although some people surprisingly still do), there is not one person to blame or one flaw in waste processing. It is an accumulation of factors starting from what we throw in the trash can, to how it is transported, treated, processed, and stored. The one thing that you are in charge of in the whole process is what you throw away in the first place. So think about it, what you throw away I mean, and try to throw away less, consume less, and buy less of those things that never break down. Those single use plastics that end up in our oceans, in the bellyʻs of sea turtles and around the ankles of sea birds.
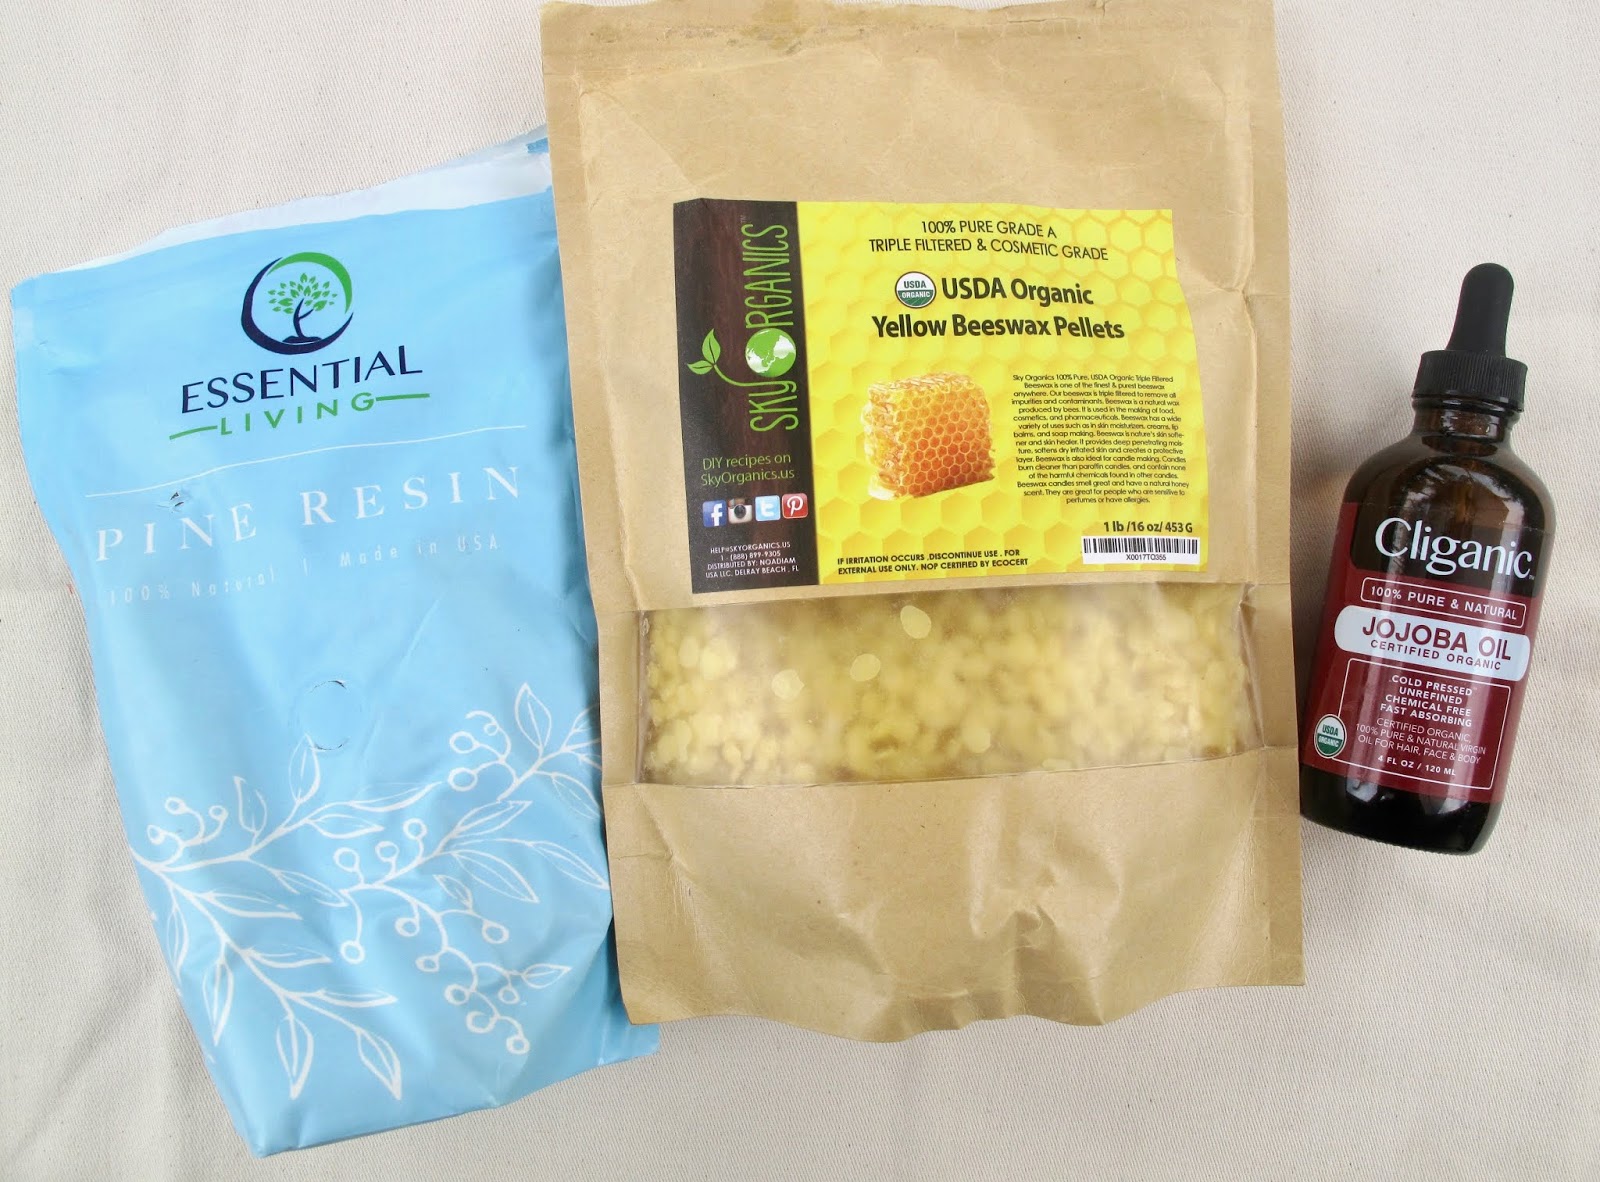
I have made several changes over the years using this mentality and one of them is switching from plastic wraps and ziploc bags to beeswax wraps. These are made with 100% cotton fabric scraps (recycled!), beeswax, pine resin, and jojoba oil. They are available online and in some health food stores but if you want to make them yourself, read on!
Beeswax wraps
The ingredients:
- 100% cotton fabric scraps cut into desired shapes and sizes. For best results use pinking shears to finish the edges.
- Beeswax pellets. White or yellow will work but if using white or light colored fabric it may pick up a yellow hue with the yellow wax. A solid wax block grated or chopped will work too.
- Pine resin. This comes in powder form but tends to clump. Release clumps under a rolling pin or by pressing with the back of a spoon.
- Jojoba oil or another neutral smelling oil. This is optional so if you don't have it, try without or with coconut oil.
- Parchment paper pieces a little bigger than your fabric pieces, about a 1 inch border. You can reuse the parchment pieces several times, but it gets messier each time.
- Cookie sheet or baking tray. Preferably an old one, to contain the wax drips. Residual wax may be cleaned by putting it in the oven and wiping off the wax when it melts.
- An iron. Again preferably one that you aren't going to iron your Sunday best with anymore, considering the risk of getting wax on it.
The method:
- Lay one piece of parchment paper on the cookie sheet followed by your fabric piece.
- Sprinkle the fabric evenly with the wax pellets and pine resin in a 2:1 ratio, two parts wax to one part resin. The specific amount isn't incredibly important because you can add more where you find dry spots or you can squeeze the excess to the edges.
- Drip with the jojoba oil if using. About one dropper full, but again the amount isn't critical.
- Cover with the other piece of parchment paper
- Start to iron, melting the wax and distributing it evenly over the fabric. Use pressure to spread the wax around and move excess wax to the edges.
- If you find a dry spot or just didn't put enough wax, peel back the parchment paper and add a few more pellets.
- When the fabric is coated in a very thin layer, peel away the parchment paper and wave the fabric to dry, it will set up in seconds.


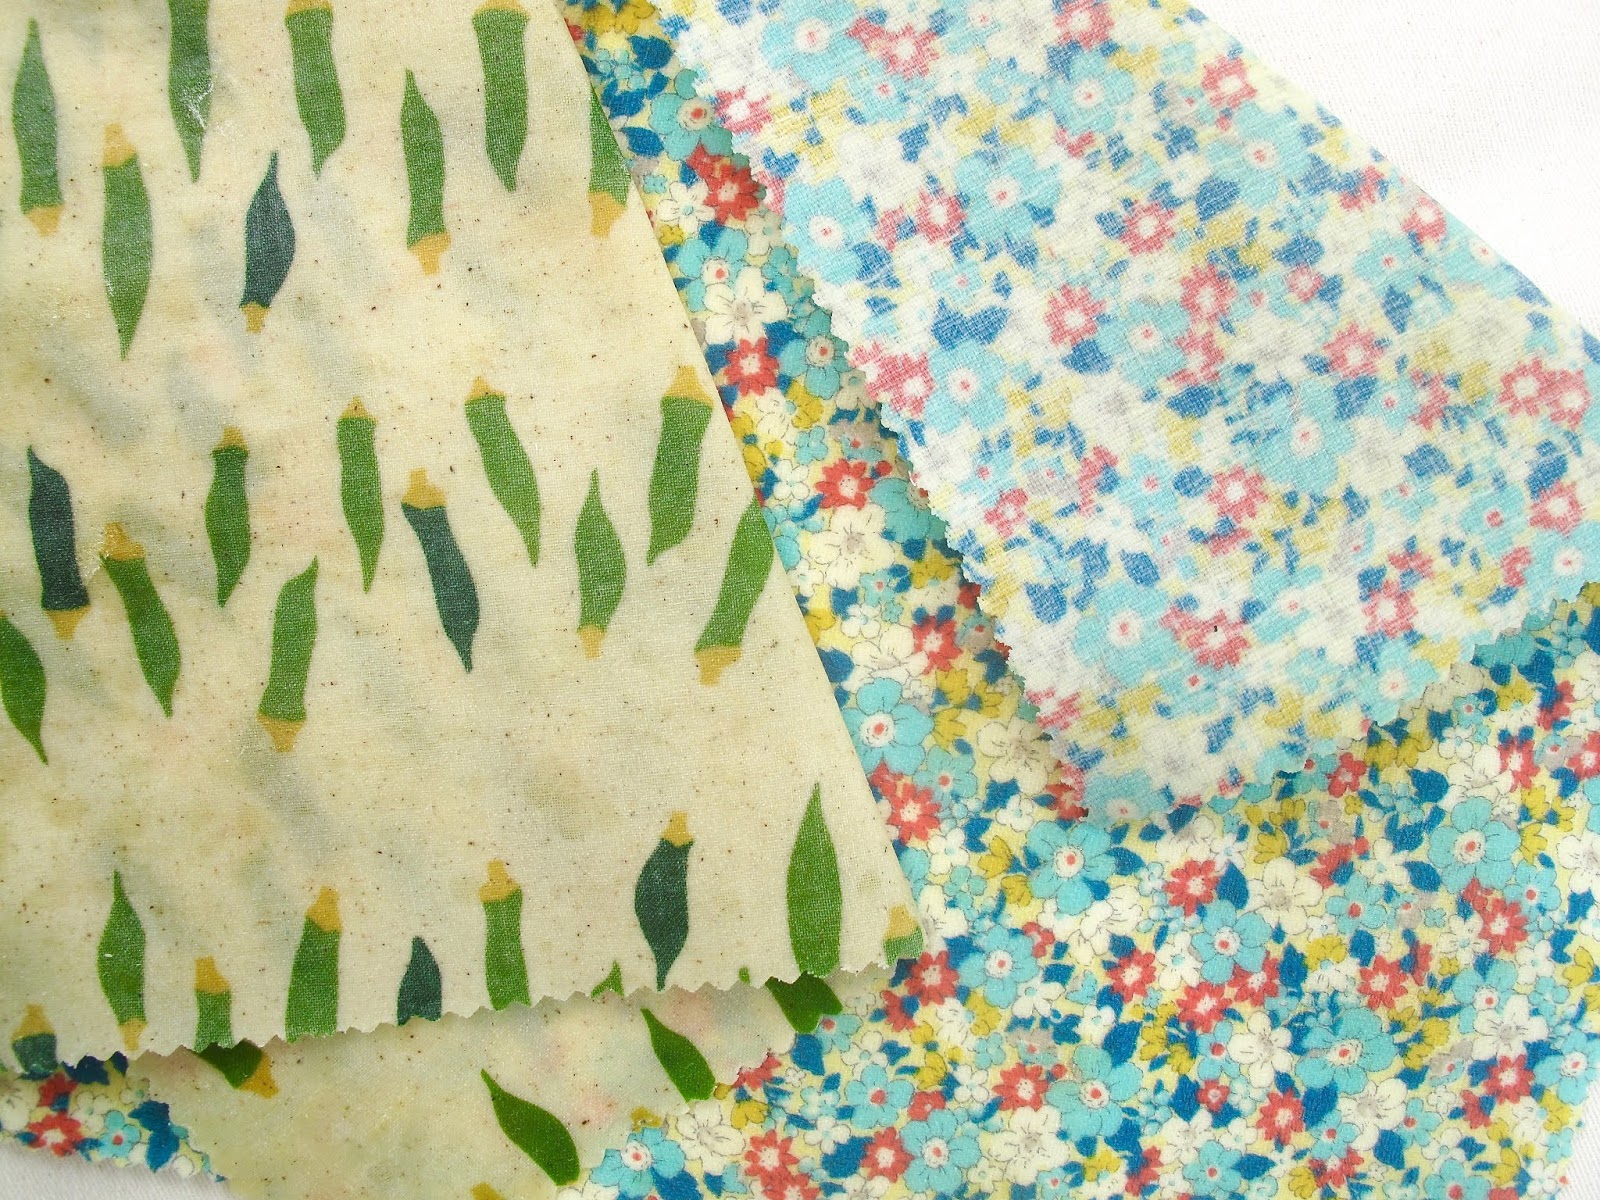
Use these wraps to cover leftovers, wrap up fruits or veggies, or even to take your sandwich for lunch. They are versatile and easy to clean, just wipe with a wet cloth and allow to dry.

They make great gifts too! If you aren't ready to make them yourself there are so many options available to order! If you are in Hawaii check out Bee Akamai for the cutest prints. Thank you for doing your part to reduce plastic waste.

Check out Life Infused for my inspiration and a more in depth tutorial on the good, the ugly, and how to maintain your beeswax wraps!
No comments:
Post a Comment