Friday, September 20, 2019

mushroom + black bean burgers


If you aren't into fungi, this isn't the recipe for you. It's chock full of mouthwatering mushies and it holds together on the grill, the perfect addition to your backyard bbq menu.

We have had a summer full of camping and grilling. Hana trips, family dinners, and south side surf missions all require a little bit of creativity for a vegan grill up. I have done several veggie skewers, grilled corn on the cob, and I have an grill plate that is excellent for grilling the small stuff over an open flame. Brussel's sprouts, cauliflower, and asparagus grilled al dente are to die for. We've even done grilled bok choy this summer. But nothing really beats the ease of a good ol' burger to throw on. Many veggie burgers are either mushy or crumbly and fall apart easily, or they stick to the grill and are impossible to flip without complete mutilation. Not these mushroom burgers! Grill tested and camper approved!

Mushroom + black bean burgers

  • 1 lb. crimini mushrooms
  • 1 small onion
  • 3 cloves garlic
  • 1 Tbsp olive oil
  • Salt and pepper to taste
  • Fresh herbs (any combination of basil, parsley, oregano, thyme, or dill)
  • 2 Tbsp miso paste (I use chickpea miso)
  • 1 can black beans
  • 1/2 cup oats
  • 2 Tbsp psyllium husk powder

Dice onion, mince garlic, and rinse and chop all of the mushrooms. Saute the onions and garlic until soft and then add the mushrooms and a pinch or two of salt. Cook until soft and most of the moisture has been released from the mushrooms. Set aside to cool slightly.


Drain and rinse the black beans and add them into a food processor. Add the miso paste, fresh herbs, and black pepper.


Once mostly processed, add the cooked mushrooms, using a slotted spoon to leave the liquid behind. Process until coarse but leave some chunks. Transfer into a mixing bowl. Add the oats and psyllium husk powder to the food processor to blend into a coarse meal. Add this to the mixing bowl and fold to combine all ingredients. The mixture should be slightly sticky but manageable. Form into desired size patties and throw on the grill! Just a few minutes on each side should be enough.


The patties can also be frozen for later use, no need to grill or cook before freezing. When you are ready for burger night, just pull them out of the freezer to defrost in the fridge for a few hours prior to grilling. 

Load it up with lettuce, avo, mustard, or whatever your favorite burger toppings are!


Friday, July 26, 2019

sweet potato falafel


This recipe is so similar to traditional falafel, it's almost too easy! It's basically subbing out the garbanzo beans for sweet potato, all the same spices, and a little garbanzo flour to hold it all together. They are super moist, sweet and salty, and irresistible topped with vegan cashew tzatziki.

I have been batch cooking every Tuesday for a few clients (and myself of course) and this is on the menu this week! Along with some fresh turmeric ginger tonic. If you are interested in becoming a batch buddy and getting in on these goodies every week, just send me an email or message on Instagram (@iamalmostvegan).

To make this one yourself, here's the recipe:
  • 2-3 small sweet potatoes (garnet yams)
  • 1-2 cloves garlic
  • 1/2 red onion
  • 1 tsp salt
  • 1/2 Tbsp cumin
  • 1 tsp smoked paprika
  • black pepper
  • 2 Tbsp olive oil
  • 3 Tbsp garbanzo flour
  • 1 handful fresh parsley
 

Peel and cube the sweet potatoes, roughly chop the onion, and peel the garlic. Add to a food processor and process into small chunks. Scrape down the sides and add the spices and olive oil. Continue to process, scraping down the sides. Add the herbs last, making sure not to over-process and blend the orange with the green. That makes brown. Make sure there are no chunks left but don't process it into a puree. Transfer to a mixing bowl and fold in the garbanzo flour.

I used a small scoop for these falafels but hand rolling would be fine. You may want more garbanzo flour if you are hand rolling falafel balls to make them stick together a little better, it's up to you. Arrange scoops or balls onto a lined baking sheet and bake for 30 minutes at 350 degrees F.


Allow to cool before transferring. Serve with hummus, tzatziki, or both. Enjoy!


Sunday, May 26, 2019

cauliflower rice gallo pinto


Many of you don't know this but I was a Rotary exchange student in high school and lived in Costa Rica for my junior year. It was an experience that changed my life, as expected. At just 16 years old I left my small town of Sandpoint, Idaho to travel and live in a foreign country, basically by myself. I learned Spanish, I traveled by bus around the country and to bordering countries, I made friends and ate good food all along the way. It's been 16 years now since I left on that journey, but I am still in contact with my fellow adventurers, and I am still making gallo pinto.

Gallo pint, meaning, the spotted rooster, is a breakfast dish made with black beans and white rice, served with Salsa Lizano, eggs, and natilla (Costa Rican sour cream). I have been making cauliflower rice lately and thought it would be fun to mix it up a bit. This is an easy side dish for any meal of the day, wrap it up in a tortilla, serve it over greens, or keep it more traditional with eggs (depending on how "almost" vegan you are).

Cauliflower rice is just as versatile as regular rice, serve it with curries, make a fried rice, or just cook it up with salt and pepper for a simple side dish. All you have to do is grate raw cauliflower, either with a box grater or the grater attachment of a food processor, and saute for a few minutes with seasonings of your choice. Minimal oil needed, flavor possibilities endless.


caulirice gallo pinto
  • 1/2 head cauliflower
  • 1/2 onion
  • 1/2 red bell pepper
  • 1 tomato
  • 1 can black beans, drained and rinsed
  • 2 tsp cumin
  • 1/2 tsp chili powder
  • 1/2 tsp salt, or salt to taste
  • 1-2 tsp olive oil

Dice the onion, bell pepper, and tomato. Grate the cauliflower on a box grater or with the grater attachment of a food processor. Heat the olive oil in a pan or skillet and add the onion, pepper, and tomato. Cook for about 5 minutes to reduce some of the liquid from the tomatoes, then add the caulirice. Stir constantly to evenly cook the cauliflower, it will only take a few minutes since it is in such small pieces. Add the spices and salt. Then add the black beans, drained and rinsed. Cook until completely heated and caulirice is nice and tender. Serve as desired, and Pura Vida!


Thursday, May 9, 2019

greener green curry


What a month! I was thinking I'd have so much time for new recipes and blog posts, but here I am, almost a month later and just now posting. Well, here's what I've been up too: I have just recently started teaching at Pure Barre Maui! It has been quite the journey of training and practice but with the support and motivation of my incredible team of fierce females, I am on the schedule and loving it. I have also been teaching nutrition and cooking classes at Montessori School of Maui for their after school program. Every week we talked about a different nutrient or food group for our nutrition lesson and then made ourselves something healthy to eat. Giving kids confidence in the kitchen and around food has been incredibly rewarding, I can't wait to do it again in the fall.

Of course, I am still busy in my own kitchen. I am always a fan of hidden veggies so here is one that is literally dripping with greens. Grab your favorite green curry paste, and everything else that is green, and let's get cooking.

greener green curry
  • 1 small onion
  • 2 tsp coconut oil
  • 2 cloves garlic
  • 1/2 inch piece of ginger
  • 2-3 Tbsp green curry paste of your choice
  • 1 can full fat coconut milk
  • handful of fresh Thai basil
  • handful of fresh parsley and cilantro
  • 1-2 cups fresh greens (kale, spinach, collards, etc)
  • 1 zucchini
  • 1 cup frozen or fresh peas
  • 12 oz extra firm tofu
  • salt as needed
Chop the onion and heat the coconut oil in a pan. Saute the onion until just soft, then add the zucchini. While the veggies are cooking, add the ginger, garlic, green curry paste, coconut milk, Thai basil, parsley, cilantro, and the greens to a blender and blend until smooth.

Add the sauce to the vegetables and simmer for about 10 minutes for all the flavors to combine. Add the peas and cubed tofu and bring back to a simmer.


Every green curry paste will be a little different, some more concentrated, some saltier, and some spicier, so make sure you taste your sauce before you add it in and again at the end. Add more salt as needed. Serve over brown rice or the grain of your choice. And there you go, getting your greens.


Tuesday, April 16, 2019

pantry essentials


Having a fully stocked kitchen makes healthy cooking at home so much easier. With this guide, you'll be recipe prepared throughout the week, just pick up the produce or specialty items you need and you're good to go!

Many of these items I buy in bulk and constantly keep stocked, others are just by the container or package. If you have never used some of these items before, wait to get them until you are going to use them, and keep in mind, everyone's kitchen is going to look different. 

Dry bulk items:

Grains

Buy these in bulk and keep them in large jars to preserve freshness.

Other
  • nutritional yeast
  • beans- usually lentils, black beans, garbanzo beans (canned or dry)
  • coconut milk cans
  • almond milk or other nondairy milk (store in the refrigerator once opened)
  • protein powder (Arbonne's vanilla flavor is my fave!)

Beans are a great foundation to a meal and, whether canned or dried, have a long shelf life.  Keep cans of coconut milk for making curries and coconut yogurt. I'm always stocked with some extra almond milks for making smoothies or protein shakes. And my favorite protein powder! Check it out here.

Nuts, seeds, dried fruit

These are all great things to buy in bulk and store in mason jars.

Things for the refrigerator:
You'll find these ingredients in a lot of my sweet treat recipes. Add spirulina to smoothies for extra protein and tons of micronutrients.

Oils and vinegar: 
It's nice to have a variety of oils and vinegars to choose from. Even if you are stuck in a cooking rut and making the same veggies every week, you can mix up the oil or vinegar to give the same dish a whole new dynamic.

Baking supplies:

  • flours (whole wheat, unbleached white, gluten free, your choice)
  • baking powder and baking soda
  • sugar (I always have organic cane sugar for making kombucha and usually use maple syrup when I bake)
  • vanilla extract
If you don't bake much you might be able to skip this section, although it is good to have these things around for when you do, they last a long time when stored correctly. On Maui I store all of these things in the fridge (flours, sugars, baking powder and soda) because of the humidity and the ants!

Spices:

  • cumin
  • paprika (smoked and regular)
  • cayenne pepper
  • chili powder
  • chili flakes
  • cinnamon
  • dried herb mix (Italian herbs) 
  • curry powder
  • salt (Himalayan pink salt or Red Alaea salt)
  • black pepper
Of course stock your favorite spices or the ones that you use the most. For me, these are the ones I am constantly using. Yes, I do have more than just these spices on my spice shelf, but these are the ones I try to always have on hand. 

What's in your pantry? I'd love to know what you can't live without so leave your comments!
 

Thursday, March 14, 2019

beeswax wraps


There are countless documentaries, statistics, and news reports telling us that we are destroying our planet. We are causing global warming, creating massive pollution, and continue to populate the earth with more beings, all of whom will add to the abundance of perpetual waste. Yes, it's depressing when we start to think about it. It may seem like there is nothing we can do, like itʻs too late. But people are making changes everyday that consciously reduce their own waste and carbon footprint, and you can too. Small choices made consistently can make a big difference, so letʻs just tackle one at a time.

If you are here on my blog you are already moving in the right direction. Eating a more plant-based diet is exemplary for the planet, so great job already! But today I want to talk about single use plastics. Living on an island, we are faced with the reality of how much plastic ends up in our oceans. Itʻs not because we are throwing trash out of our car windows or leaving it on the beach (although some people surprisingly still do), there is not one person to blame or one flaw in waste processing. It is an accumulation of factors starting from what we throw in the trash can, to how it is transported, treated, processed, and stored. The one thing that you are in charge of in the whole process is what you throw away in the first place. So think about it, what you throw away I mean, and try to throw away less, consume less, and buy less of those things that never break down. Those single use plastics that end up in our oceans, in the bellyʻs of sea turtles and around the ankles of sea birds.

I have made several changes over the years using this mentality and one of them is switching from plastic wraps and ziploc bags to beeswax wraps. These are made with 100% cotton fabric scraps (recycled!), beeswax, pine resin, and jojoba oil. They are available online and in some health food stores but if you want to make them yourself, read on!

Beeswax wraps

The ingredients: 
  • 100% cotton fabric scraps cut into desired shapes and sizes. For best results use pinking shears to finish the edges. 
  • Beeswax pellets. White or yellow will work but if using white or light colored fabric it may pick up a yellow hue with the yellow wax. A solid wax block grated or chopped will work too.
  • Pine resin. This comes in powder form but tends to clump. Release clumps under a rolling pin or by pressing with the back of a spoon. 
  • Jojoba oil or another neutral smelling oil. This is optional so if you don't have it, try without or with coconut oil. 
  • Parchment paper pieces a little bigger than your fabric pieces, about a 1 inch border. You can reuse the parchment pieces several times, but it gets messier each time. 
  • Cookie sheet or baking tray. Preferably an old one, to contain the wax drips.  Residual wax may be cleaned by putting it in the oven and wiping off the wax when it melts. 
  • An iron. Again preferably one that you aren't going to iron your Sunday best with anymore, considering the risk of getting wax on it. 


The cookie sheet will be your working surface. You can place it on a table or ironing board, being cautions of wax drips.

 The method:
  • Lay one piece of parchment paper on the cookie sheet followed by your fabric piece. 
  • Sprinkle the fabric evenly with the wax pellets and pine resin in a 2:1 ratio, two parts wax to one part resin. The specific amount isn't incredibly important because you can add more where you find dry spots or you can squeeze the excess to the edges. 
  • Drip with the jojoba oil if using. About one dropper full, but again the amount isn't critical. 
  • Cover with the other piece of parchment paper
  • Start to iron, melting the wax and distributing it evenly over the fabric. Use pressure to spread the wax around and move excess wax to the edges. 
  • If you find a dry spot or just didn't put enough wax, peel back the parchment paper and add a few more pellets. 
  • When the fabric is coated in a very thin layer, peel away the parchment paper and wave the fabric to dry, it will set up in seconds. 


You may notice some uneven areas where there is either too much or too little wax, in that case just place it back between the parchment paper pieces and continue to iron remelt and distribute the wax.


Use these wraps to cover leftovers, wrap up fruits or veggies, or even to take your sandwich for lunch. They are versatile and easy to clean, just wipe with a wet cloth and allow to dry.


They make great gifts too! If you aren't ready to make them yourself there are so many options available to order! If you are in Hawaii check out Bee Akamai for the cutest prints. Thank you for doing your part to reduce plastic waste.


Check out Life Infused for my inspiration and a more in depth tutorial on the good, the ugly, and how to maintain your beeswax wraps!

    Saturday, March 2, 2019

    chocolate zucchini muffins


    Here I go again, finding a way to sneak veggies into a treat! I love baked goods; cookies, muffins, brownies, etc., but they are usually full of sugar, fat, and who knows what from a commercial bakery. Baking your own treats is the only way to know exactly what is in them, and you can make them as healthy (or as naughty) as you want. Even add a vegetable? Donʻt be scared, they are moist, fluffy, and chocolately. You wonʻt even notice the zucchini.

    These muffins are kid tested, no refined sugar, vegan, and so easy. Donʻt just feed them to your kids, let them help out in the kitchen!

    Chocolate zucchini muffins

    Start by preheating the oven to 350 degrees F. Grate the zucchini and set aside. One medium zucchini is about 2 cups when grated, isnʻt that nice?


    Whisk together the milk and apple cider vinegar and set aside, it will start to curdle and represent our vegan buttermilk. If the coconut oil isnʻt liquid, warm it up and combine it with the peanut butter, maple syrup, vanilla, salt, and raw cacao powder in a small mixing bowl. In a large mixing bowl combine the flour and baking powder. Add the grated zucchini, milk and vinegar mixture, and the rest of the wet ingredients to the dry ingredients. Fold all ingredients together until just combined. Try to avoid over mixing, which will cause the gluten to develop and make your muffins dense instead of fluffy.

    Scoop the batter into a greased or lined muffin tin. This recipe makes 12 muffins. Bake for 20-25 minutes at 350 degrees F, or until a toothpick comes out clean when inserted into the center of a muffin.


    Saturday, February 23, 2019

    coconut ranch dressing


    Ranch dressing reminds me of my childhood, dipping veggies, french fries, and even pizza. It was one of those condiments that almost every American family had with almost every meal. Are you still a ranch addict? Although a dairy based dressing accounting for 150 kcals per serving doesnʻt find it's way into my diet anymore,  I can't say I don't crave a creamy plant based substitute for this salad classic.

    Instead of buttermilk and mayonnaise I used coconut cream. Different from coconut milk that comes in a can, this is more condensed and much thicker. If you can't find this in your health food store, use a can of full fat coconut milk but omit the water from the recipe.

    Keep in mind that even though this recipe doesn't use any animal products, it is still full of fat! Use sparingly if you are watching your calorie or dietary fat intake.


    coconut ranch
    • 2 cloves garlic
    • 1-2 spring onions or an equal amount of chives
    • 1/2 cup of fresh herbs: basil, parsley, and dill
    • 1 tsp salt
    • black pepper to taste
    • 2 Tbsp apple cider vinegar
    • 1/2 cup coconut cream
    • 2 Tbsp extra virgin olive oil
    • 1/4 cup water

    Place all ingredients into a blender (I have a NutriBullet and I use it for everything) and whiz it up. It's really that easy! If you want your dressing to look more like the classic version, white with green chunks of herbs, finely chop the greens and stir them into the dressing instead of blending them. Me, I like my dressings green. Get creative with the varieties of herbs and add more if you like, you can't have too many fresh herbs.


    This dressing will thicken to perfection after refrigeration, that is the nature of coconut products, so make it ahead with some time for it to set. For a thicker ranch dip use less water. Try substituting the coconut cream and water with one can of full fat coconut milk. Happy salad eating! 


    Saturday, February 16, 2019

    mocha chia pudding + coconut yogurt


    Need something to look forward to in the morning? Something that makes you want to jump out of bed? How about a breakfast that is healthy, hearty, chocolatey, and caffeinated? I had you at caffeinated, didn't I? This mocha chia pudding is just what you need then. Use chilled espresso shots or cold brew coffee to jazz up this new take on an old recipe (chocolate mint chia snack pack).

    mocha chia pudding
    • 1/2 cup cold brew coffee or espresso
    • 1/2 cup milk (I used unsweetened almond milk)
    • 1/3 cup chia seeds
    • 1 Tbsp cacao powder
    • 1 tsp maple syrup (or sweeten to taste)


    Whisk together all ingredients until completely combined and starting to thicken. Transfer into containers or jars, cover and place in the fridge for at least two hours, preferably overnight.  For a complete breaky top with fresh fruit, granola, or coconut yogurt.


    Want to make your own coconut yogurt? I did! Find the recipe on Minimalist Baker and read through her suggestions for coconut milks and probiotics. I have been using any full fat coconut milk and Renew Life Ultimate Flora Probiotic 50 billion (look for it in the refrigerated probiotics section of your health food store). Two capsules for one can of coconut milk and 48 hours later, you are ready to enjoy. A little goes a long way with this co-yo because it is super rich and full fat so use sparingly.


    Wednesday, February 6, 2019

    lentil meatballs + coconut curry sauce


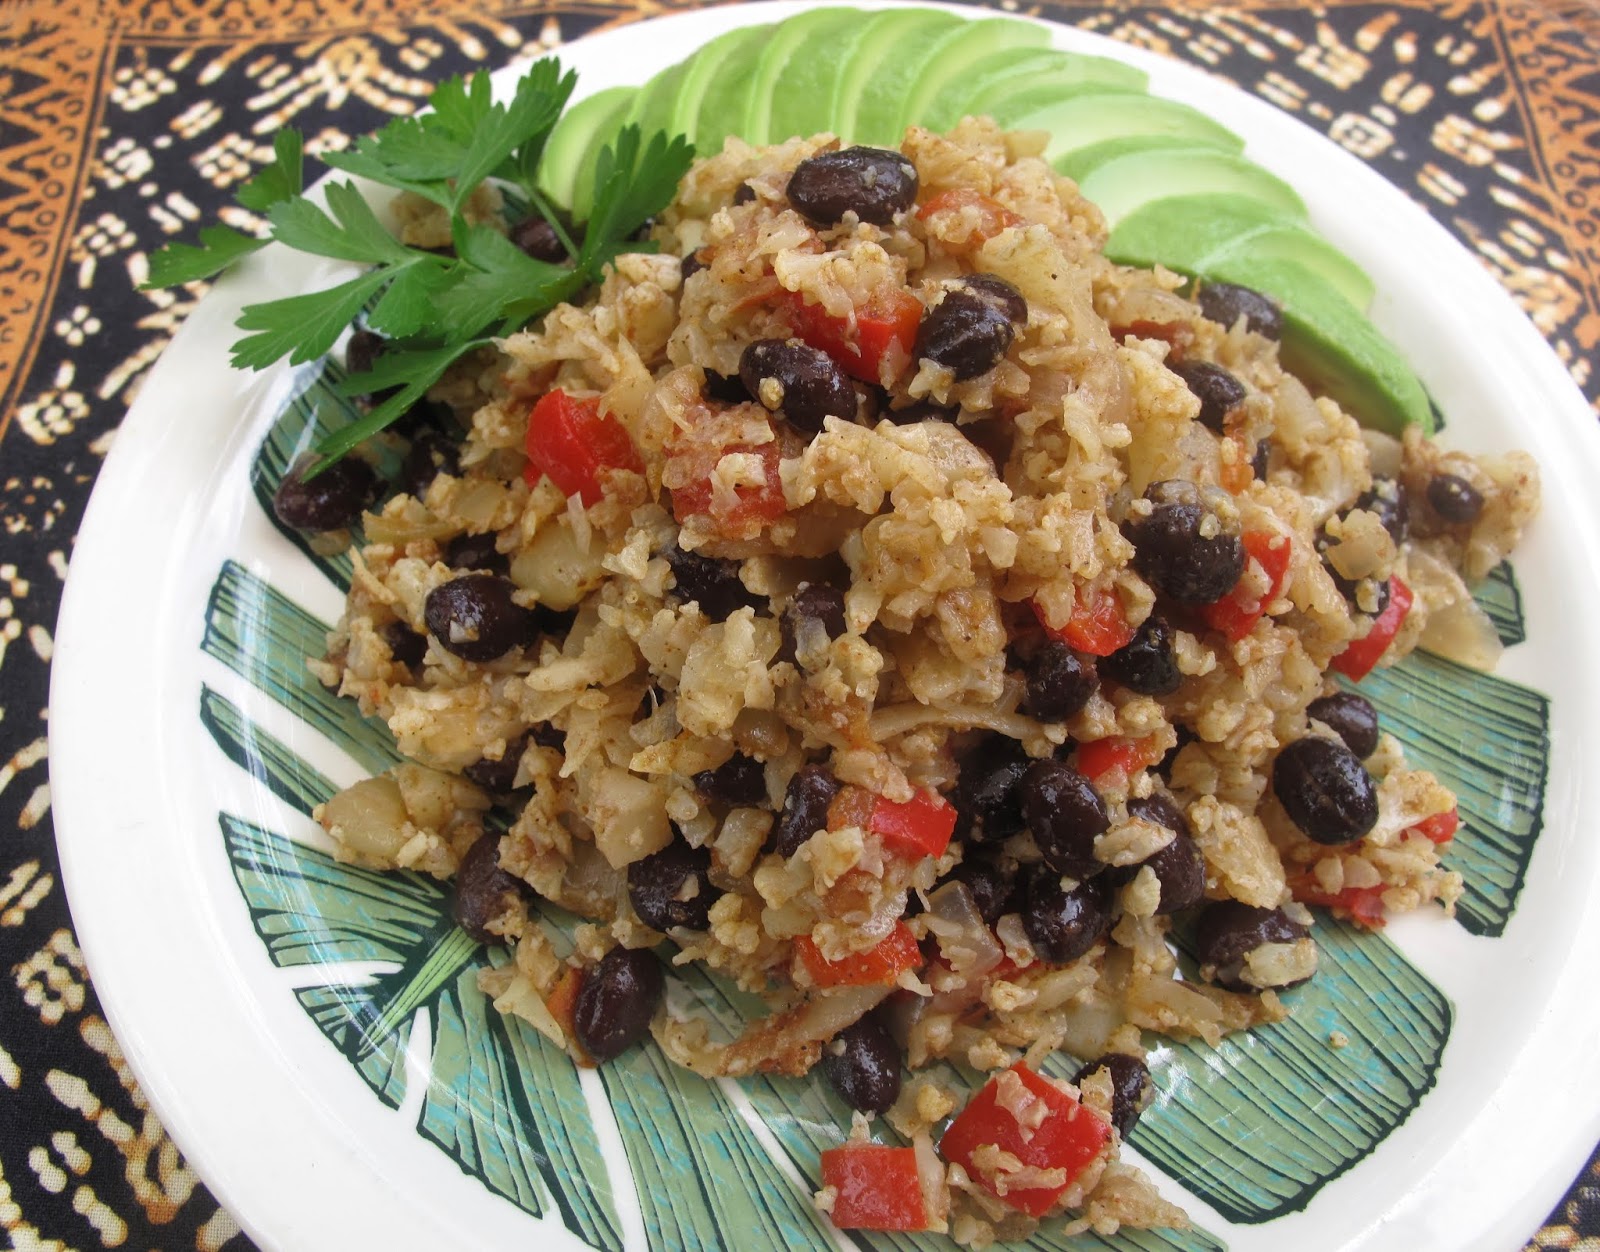
    Coconut curried lentils is one of my all time favorite meals. Along the same theme, with a different method and texture, another variation was born. Which is good because there are only so many nights you can eat a lentil stew with brown rice. Don't get me wrong, I could literally live on lentils. But finding new and fun ways to eat these little nutrient power houses is a serious obsession.

    I have made vegan meatballs before using white beans and bread crumbs with a classic marinara sauce and zucchini noodles, drooling yet? You can check out that recipe here. These lentil meatballs are next level. They are perfect for meal prep, you can cook them all and throw them in the fridge to put on salads, in wraps, or in this case smothered in coconut curry sauce and served with greens and brown rice for a complete dinner. Another option is to roll the balls but keep them raw and throw them in the freezer for a quick but rather impressive midweek dinner later on. Get creative with the sauces and serving suggestions and let me know how yours turn out!

    lentil meatballs
    • 3 cups cooked lentils (I cook my own french green lentils with water and salt)
    • 1/2 cup walnuts
    • 2 cloves garlic
    • 1 tsp cumin
    • 1/2 tsp salt
    • 1/4 tsp black pepper
    • 1 Tbsp flax meal
    • 2 Tbsp nutritional yeast
    • 1 stalk celery, diced
    • 1 cup fresh parsley, finely chopped
    • Olive oil for cooking ~ 1 Tbsp

    For this recipe I cooked my own lentils but it would work fine with canned lentils too. The consistency may vary so be prepared to add either a bit of water (1 or 2 Tbsp) if its too dry, or some sort of flour if its too wet. Coconut flour and garbanzo bean flour are both excellent choices given that a small amount will absorb a lot of moisture. But any kind of flour, almond meal, more flax meal, or even breadcrumbs would do the trick.

    In a food processor add the garlic and walnuts, process to chop, this will ensure you aren't left with any big chunks of either. Add the lentils, cumin, salt and pepper. Process until almost completely smooth, scraping down the sides when needed. At this point only a few full lentil should be detectable. Transfer the mixture to a bowl and add the flax meal, nutritional yeast, and finely chopped celery and parsley. This is when you may notice if your mixture is too wet, or too dry. Adjust accordingly as you fold to combine.

    The consistency you are looking for should be sticky enough to hold together in a ball, but not too wet that it doesn't hold it's shape.


    Roll into balls, about gold ball size or smaller. In a pan, heat enough olive oil to cover the bottom of the pan. Add the lentil balls and lightly fry on a few sides, using tongs or a fork to rotate throughout the process. Set the balls aside to make the sauce, if using the same pan for the sauce, place them on a separate plate.
     

    coconut curry sauce
    • 1 tsp coconut oil
    • 1/2 onion, sliced
    • 1 clove garlic, minced
    • 1 tsp grated fresh turmeric
    • 1 tsp grated fresh ginger
    • 1 Tbsp curry powder
    • 1 can coconut milk
    • 1 Tbsp cornstarch + 1/2 cup water
    This curry sauce is irresistible! Every curry powder will have a slightly different combination of spices, but with added ginger, garlic, and turmeric, you can't really go wrong. 
     
     
    Heat the olive oil and add the onions and minced garlic to sauté. After a couple minutes add the grated ginger and turmeric and the curry powder. Spices are always better after being toasted so rolling the curry powder around with the onions and garlic will really deepen the flavor. 

    Add the can of coconut milk and bring to a simmer. In a small bowl whisk together the cornstarch and water. Add the cornstarch mixture and bring the sauce back to a simmer. If the thickness is to your liking, its time to add the balls back in. If not, simmer until desired consistency. Heat the meatballs in the sauce for a few minutes, garnish with fresh herbs, either more fresh parsley or as pictured here, fresh cilantro, and serve.


    Pictured here is a half batch of the lentil meatballs + a whole batch of the coconut curry sauce. There is plenty of sauce for all of the meatballs but it is fun to split it up into two meals, maybe with a different sauce? We had this for dinner one night with greens and brown rice, then cooked up another batch of the sauce to bring the rest of the balls to a dinner party to enjoy tapas style. Have fun with this one and I'd love to hear your feedback!

    Thursday, January 31, 2019

    turmeric hot chocolate


    I'm back on Maui! After three and a half years on Oahu, I'm living in Haiku again and it's good to be back, even though it's been raining for days and I'm feeling a bit chilled and soggy. Nothing a warming cup of hot chocolate can't fix.

    I went for a little jog today, in between squalls, followed by some stretching and foam rolling, but my muscles needed something more. A hot shower and a hot drink did the trick for me.

    Golden milk is all the rage these days, giving turmeric a little taste of fad fame, but with good reason. Curcumin, the powerful antioxidant and anti inflammatory compound found in turmeric, is what gives it it's bright orange or yellow color, and it's nutritional hype.

    But did you know about cacao? Raw cacao is another champion superfood, touted for a high concentration of minerals and magnesium, as well as it's antioxidant profile. And it's CHOCOLATE! Raw cacao is unsweetened and cold pressed, helping maintain that nutrient density. You will need some sweetener when working with cacao powder, but this way you are in charge of those added sugars, so sweeten to your liking.


    I used fresh turmeric root from a friend's garden, but dried powder would do fine. To increase the solubility and bioavailability, or your body's ability to use and access nutrients, of the turmeric, black pepper and coconut oil are added. This recipe makes enough for two, so share the goodness.

    turmeric hot chocolate
    • 2 cups milk (any kind of alternative milk will work, I used unsweetened vanilla almond milk)
    • 1 tsp grated fresh turmeric, or dried ground
    • 2 Tbsp unsweetened cacao powder
    • 1 tsp honey or sweetener of your choice
    • 1/2 tsp coconut oil
    • pinch of black pepper


    Whisk all ingredients together in a small pot over medium heat. Bring to a steam, being careful to not burn the bottom. Heat for about 5 minutes, enough time to let those curcuminoids seep into the liquid. Strain out the grated turmeric and serve. Pro tip: quickly whiz your hot choc in the blender to avoid an oil slick on the surface from the coconut oil. A quick blend will incorporate the oil and leave a frothy finish.


    This recipe was revised and inspired from Happy Foods Tube.